[Return to main page] [Go to Previous section] [Go to Next section] [Questions/Comments]
This section shows pictures of the beginning of the 2nd floor construction. Be sure to visit the main page and see all the steps of construction and other details.
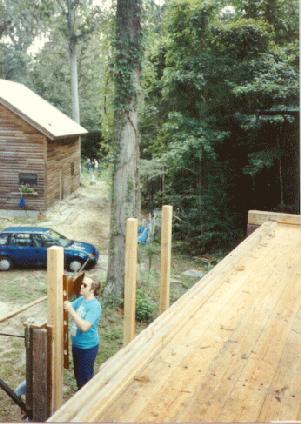
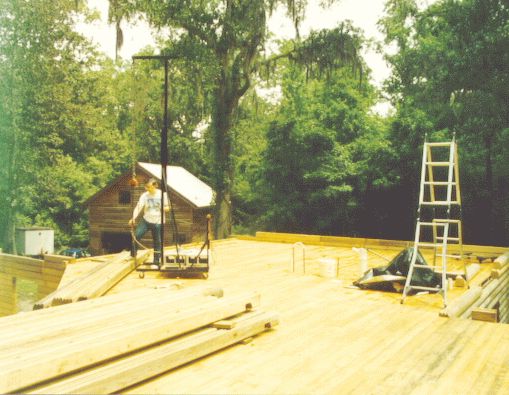
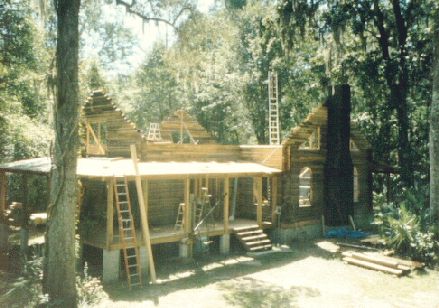
2nd Floor
The 2nd floor is put in. This is the
final floor, not a sub floor or temporary floor. As the roof was not put
on for several months after this, the 2nd floor required sanding to get
rid of mildew and crud. Over 1,000 screws were used to screw the floor
in place.
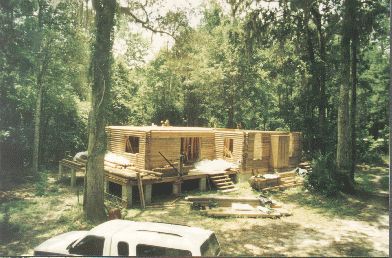
Front View
Looking at the front of the house from
the southeast side.
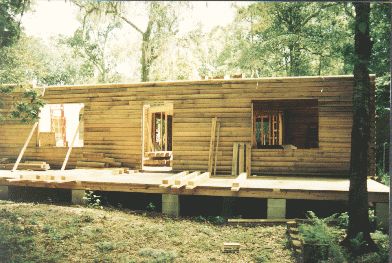
Another front view
Looking at the front of the house
from the southwest side with the photographer standing in the driveway.
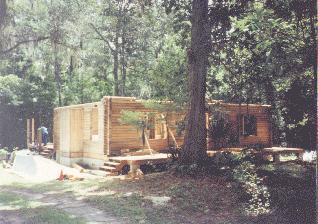
Porch start
Here the start of the back porch
begins. The porches had to be done at the same time as the 2nd floor was
put in.
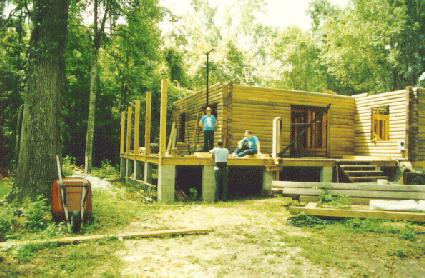
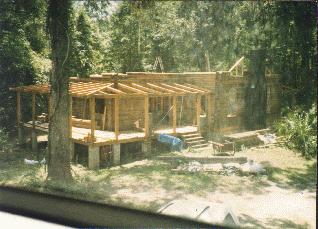
2nd Floor and porch
The 2nd floor can be seen here
as the beams to the back porch go in. The porch roof beams will join in
at this level and have to be done before any of the 2nd floor logs can
be put up around the porch area.
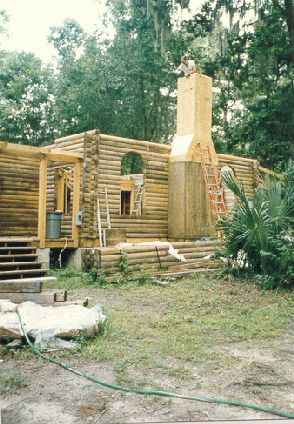
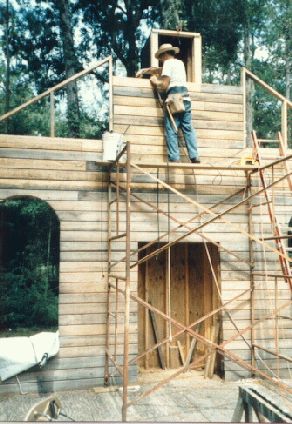
Chimney frame
Here is the chimney frame. On the
outside of this will go tar paper and Florida field and stone masonry
work. Note Clyde inside the chimney.
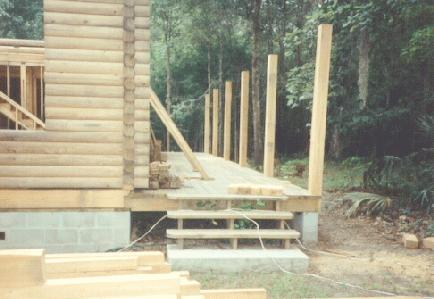
Front porch
Here the beams to hold the front porch
are put in place.
Back porch beams
Here the back porch has its posts
and roof beams in place. The chimney frame has its tar-paper on.
Living room
Here the last logs beside the triangle
windows go in place. The living room is a cathedral ceiling.
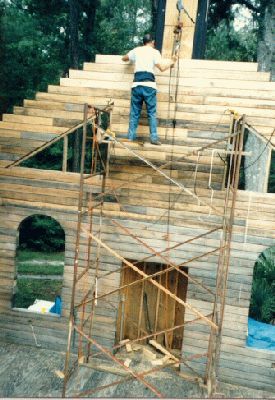
Lifting logs
One of the sons of the owners helps
lift logs from the living room up to the 2nd floor. Note the contraption
being used to lift the logs. It was invented by Clyde to help lift
the logs. Once again, the engine hoist/chain is being used.
Cathedral Ceiling
More 2nd floor level logs get
placed in the living room. Notice that the triangle windows are already
installed. They are fixed windows that will not open. Picture is taken
from the 2nd floor balcony. The triangle windows and the curved windows
below required the use of a chainsaw to cut through the logs. Another
contraption is being used to lift the logs. The big opening at the
bottom is the fireplace opening and is a little over 6' high. The
opening itself will not end up being that big and will be covered in by
the fireplace workings and log facades as needed.
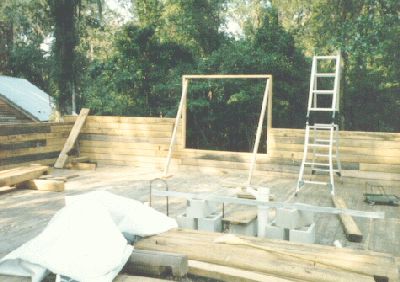
Rear window frame
The rear window frame for the 2nd
floor north bedroom.
All logs are up
This shows all the logs
completed. The next step is the installation of the roof support beams.