<<<4/7/2003 4/19/2003 4/22/2003>>>
Well after more than a year of work and parts shopping it is finally time to swap in the fresh cylinder head and take care of some upgrades. I did all this in the parking lot of my apartment complex over the course of 4 days with hand tools only. The first day was a solid 12 hour thrashing, the other 3 days were around 4 or 5 hours each.
The following is a few pictures I took during the process when I wasn't completely covered in grease. As usual if you have any questions don't hesitate to E-Mail me, I have more pictures that might help and high resolution versions of all the pictures.
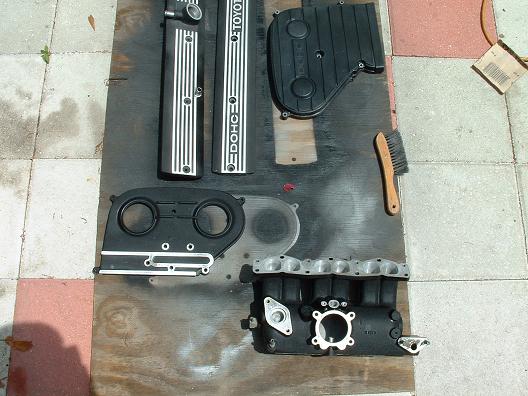
I put a wrinkle finish on the upper intake, upper rear timing cover and the valve covers which were wrinkle finished from the factory. The process of applying this finish is pretty easy. It requires 3 heavy coats of paint with 10 minutes of time between each coat.
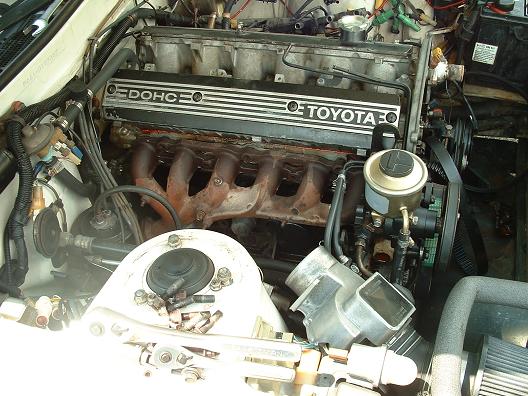
The beginning of the teardown here, the exhaust manifold is unbolted, the fan and radiator is out of the way and the upper intake manifold is removed.
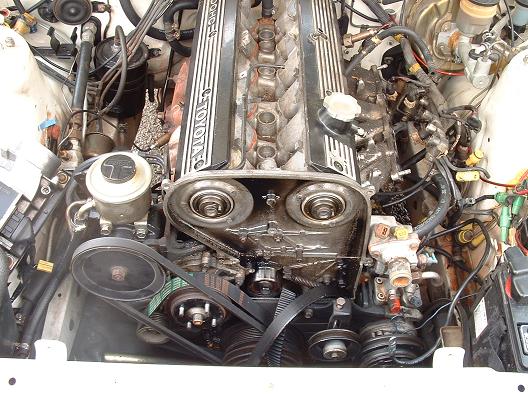
Here is the shot from the front. You can see the coating of oil inside the timing cover from the leaky front main seal that was fixed at this same time too.
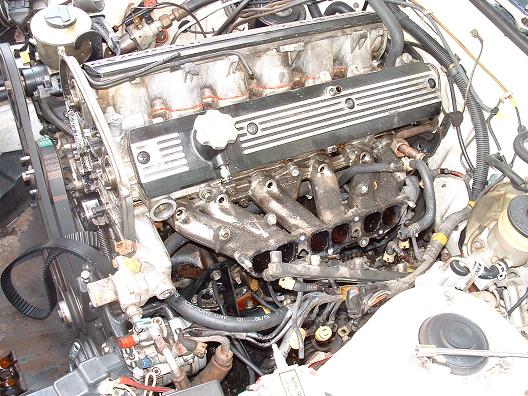
Here is the intake side of the motor. This is where I realized that the lower intake I ported was the wrong type. The one from my car already has the runners in the correct "D" shape that matches the upper intake manifold. I ended up having to portmatch this lower manifold so I would have the better designed piece instead of the old style one that I "fixed"

Here's the block with the ARP studs installed. You can see that the engine bay is very messy from cleaning the carbon buildup from the tops of the pistons. I cleaned them using oven cleaner and a brush, there was a very thick layer of carbon on top of the pistons which is most likely what was causing the pinging problem I had at partial throttle. The ARP studs thread into the block using an allen wrench.
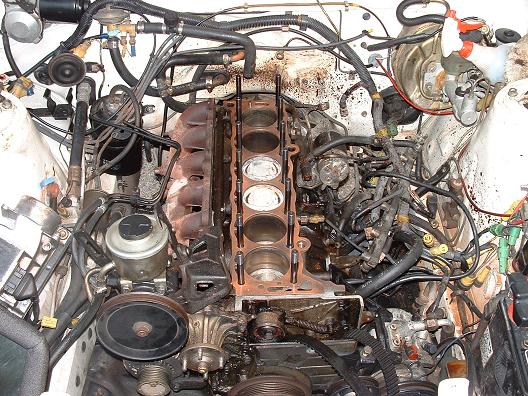
Here is a picture with the head gasket resting on the block. This is a stock graphite composite head gasket. The copper color is from copper spray that will help the head gasket seal even better if there are any imperfections in the block or head surface.

Here you see the head installed with the ARP studs as well as the lower intake manifold that I cleaned and ported the same day. Using the moly lube supplied with the ARP studs I torqued the head down in 3 passes with a final torque value of 80ft/lbs following the tightening sequence from the Toyota Service Manual. The head was a very tight fit over the studs and I had to use a rubber mallet to gently drive it down onto the block.
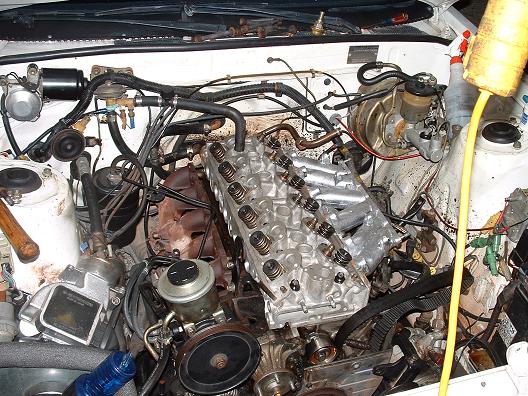
Here is another view from the front. Yuck!! what a mess, but the part in the middle is nice and shiny!!!!

Here you see things are progressing quite well. Both cams are installed, the front main seal has been replaced. The cams are timed to the crank and the timing cover is on. The fuel rail and injectors are in, and the heater and PCV hoses are reconnected.
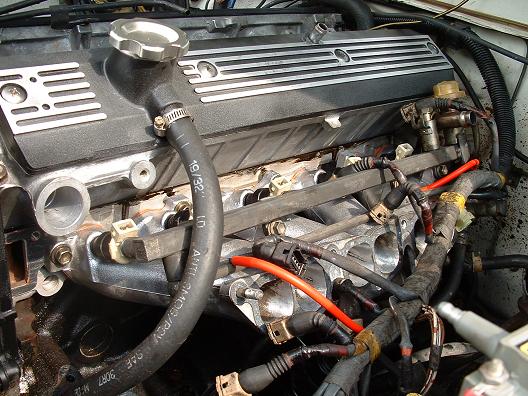
Here is a closer shot of the intake manifold and fuel rail.
Created by Wesley Hetrick 5/24/2003