HomeMain MenuAmateur RadioAboutActivitiesAntennasIdentities |
|
Bruce H. McIntosh scotsman@afn.org Visit my work homepage Last revised Jan 04, 2021 |
Invisible airwaves crackle with life
Bright antennas bristle with the energy
Amateur Radio
The Two by Four Tiltover Tower for VHF/UHF
Introduction
Consider the somewhat ad hoc VHF antenna support situation around here. Out back there is a 25' mast made of Radio Shack TV mast sections velcroed to an 8' 4x4 that used to support one of those tethered-baseball batting practice toys. It's really scary looking,but it's held up through a couple of hurricane seasons so far. What's making it untenable now is the ever-encroaching limbs of the neighobrs' trees. It's time to do something about it. A new VHF support structure needs to be built,preferably without breaking my wallet.
Design considerations

Some while back I saw this picture on K0KP Rex Greenwell's web site of a 33 ft. homebrew wooden tower supporting a 6 meter 3 element Yagi. That,or something like it,would be just what I'm looking for! There was no description with the picture,and several emails to Rex have either bounced or gone unanswered,so I was left with figuring out how it was put together just by digesting that one picture.
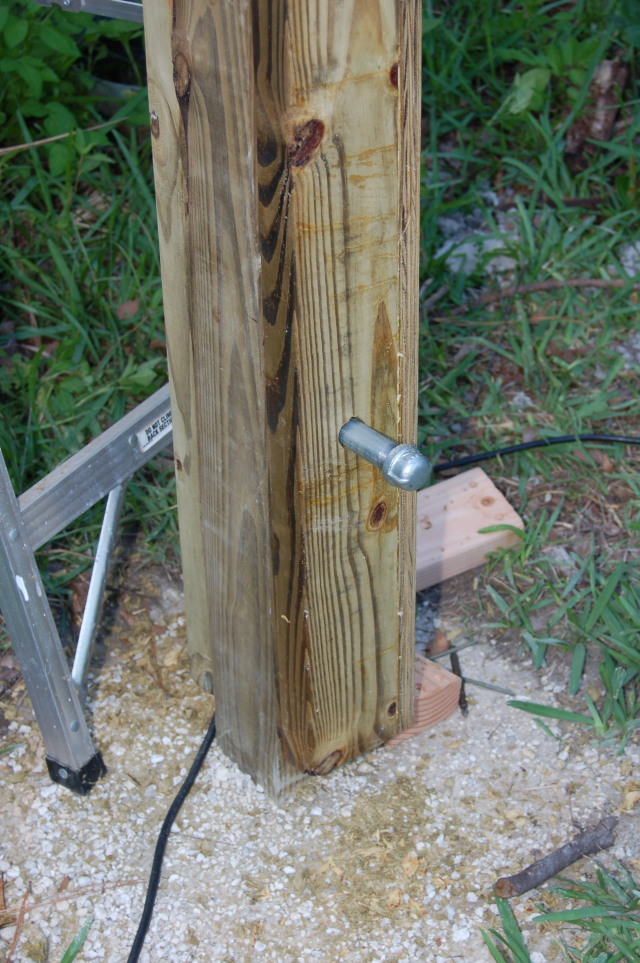
I've come up with a design which is somewhat derivative of Rex's. The first step,recently accomplished,was to sink a 10' pressure treated 4x4 4' deep in the ground. Everything went smoothly until I hit the layer of clay and limestone about 3' deep. Fortunately I have a VERY heavy duty post-hole digger. Now that the post is set and the concrete hardened,the next step is to build a 22' "ladder" structure of 2x4s much like the picture. The ladder structure will be mounted to the 4x4 post with a pair of short lengths of 3/4" galvanized water pipe,at the top and bottom of the post. Pulling the the bottom pipe loose will allow the structure to pivot around the top pipe; addition of a counterweight at the bottom to balance the weight of the antennas will allow me to lower and raise the antennas singlehandedly.
Starting about 5' from the bottom,every few feet up one side of the ladder structure I will install a bracket of pressure treated plywood with a 1-1/4" hole bored; these brackets will support the TV mast. The bottom bracket will eventually hold the AR-44 rotator I picked up at Orlando Hamcation a couple of years ago,but for now (in the interests of getting it done before the June 2009 ARRL VHF QSO Party looming on the horizon) I'll stick with the tried and true Armstrong rotator system currently employed.
A total of 30' of the TV mast sections will be installed,bringing the top antenna up to about 35' above ground. The antennas will be clear of any nearby trees and free to rotate as necessary,a considerable improvement over the current structure.
Construction,Phase 1
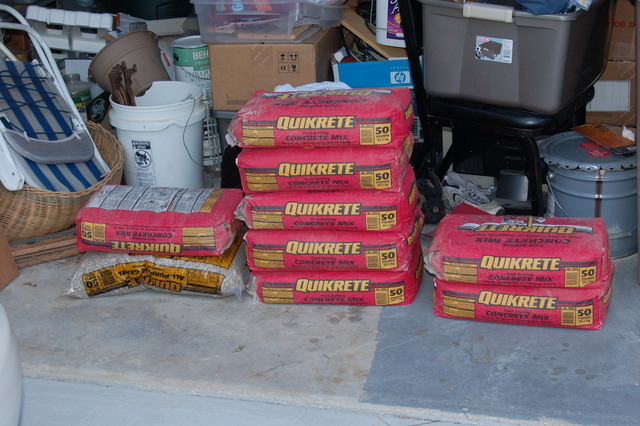
In a burst of productivity,I got out and hit Lowes and came home with eight bags of Quikcrete no-mix concrete (just dump it in dry, adding water as you go; sets up hard in 20 minutes!) and a 10' pressure treated 4x4. Then it was time to dig in,so to speak. I've got an industrial strength post hole digger just for things like this. Everything was going great until I got to about 3' deep and hit a mix of clay and limestone that took forEVER to break through.
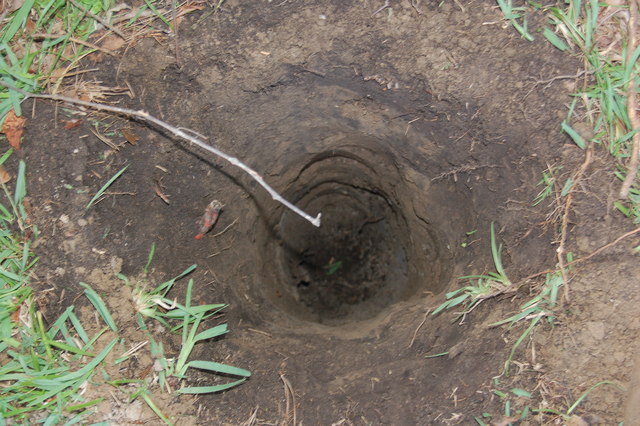
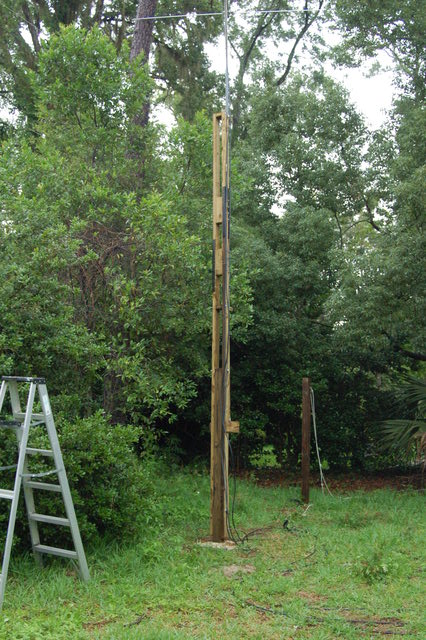
I did finally get my slightly-more-than-four-foot-deep hole. I lined the bottom couple of inches with gravel,dropped the 4x4 into the hole and shored it up plumb,then added about 6-1/2 bags of concrete to the hole,watering down the mix periodically.
Construction,Phase 2
With the post in the ground and the concrete curing,it was time to start on the pivoting structure itself. Lowes got another swipe of the Visa card and in return my trusty chariot was filled with 2x4s,deck screws,angle iron,and galvanized nuts and bolts.
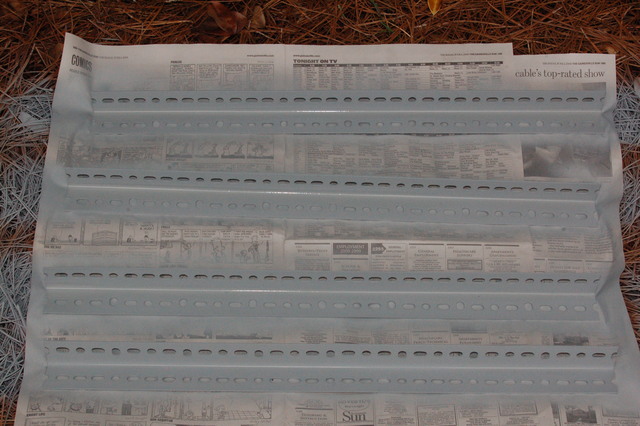
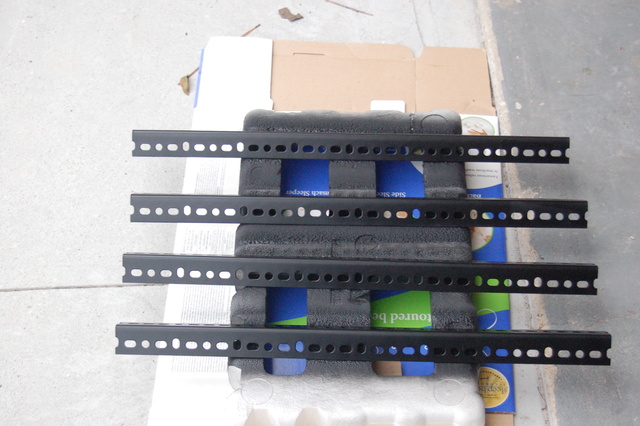
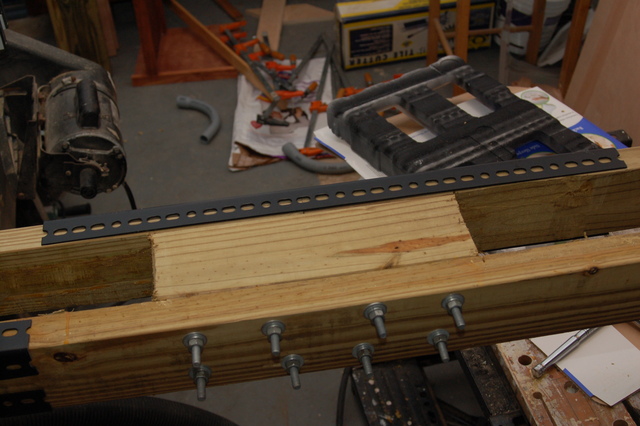
First step was to get the angle irons primed and painted to protect them from the corrosive effects of the preservative in the pressure treated lumber. I hit them with two coats of Rustoleum grey auto primer,and two coats of Rustoleum satin black paint. The result was left to sit in the garage for a few days.
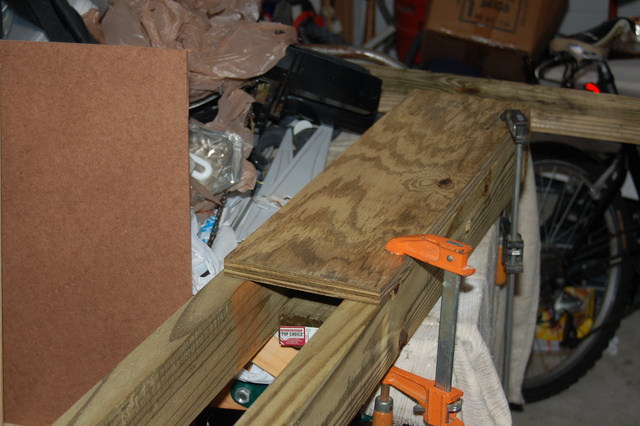
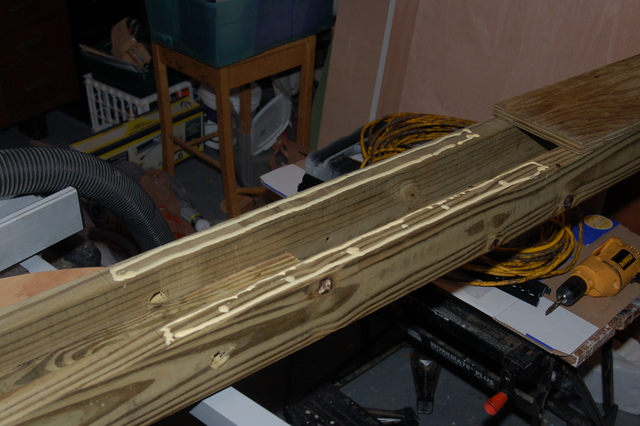
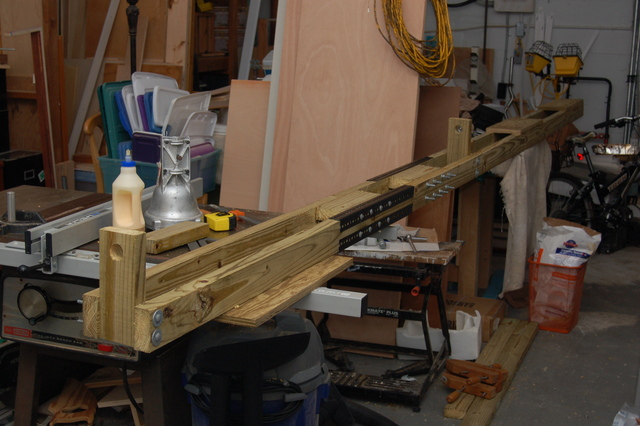
Next,2x4s were cut to 12' and 10',to stagger the splice joints,and some 3/4" plywood was cut into 2' long strips to reinforce the portion of the structure that would straddle the 4x4 post. I clamped the 2x4s together and drilled 7/8" holes for the pivot and lock pins (7/8" galvanized pipe sections). The plywood was glued and screwed to the 2x4s.
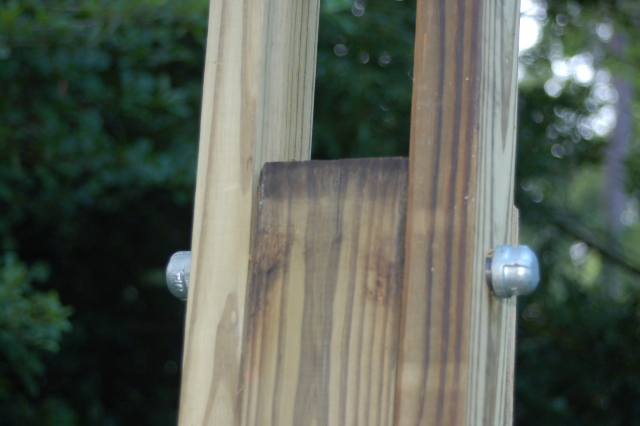
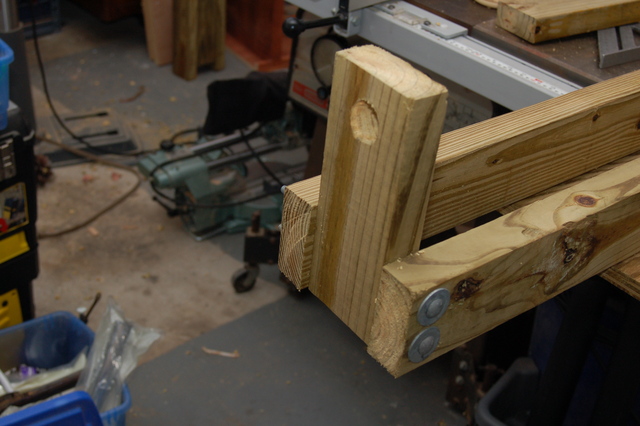
The resulting assembly was then carted outside and clamped to the 4x4 post. Using the holes in the 2x4s as a guide,I drilled through the 4x4 and installed the pivot and lock pins. Pulling the lock pin and attempting to test the tiltover capability raised an issue of misthought design - I didn't leave any clearance between the post and the upper plywood strip,resulting in a bone-jarring THUNK when I tried to tilt things over.
A few minutes' work with the Sawzall cleared that up,and the tiltover operation proceeded as intended. The tilting assembly was then removed and carted back into the garage for the next steps.
Construction,phase 3
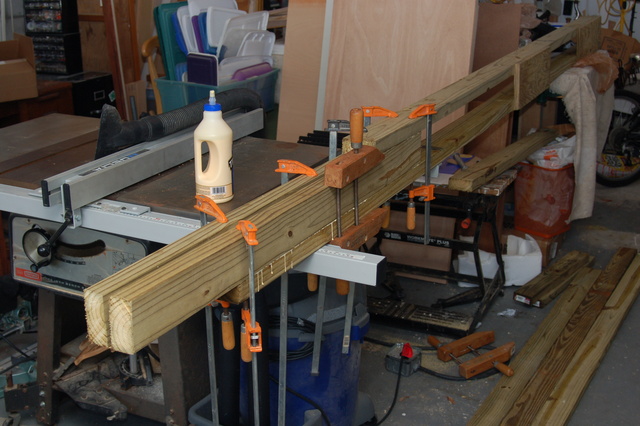

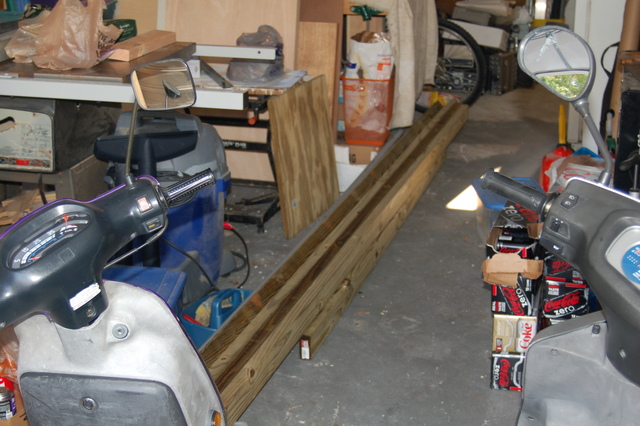
Back in the garage,it was time to add the top section to the tiltover. This involved gluing a couple of 2x4s to the bottom section to support the splice joints,and a couple more pieces of 2x4 at the top of the added length. The entire construction was now 20' long,and entirely too heavy. I couldn't pick the thing up any more. Looks like I'd drastically underestimated how much wood was going to wind up in the structure. This required some thought and some hard decisions. Maybe I'd bitten off more than I could chew (or at any rate, raise)?
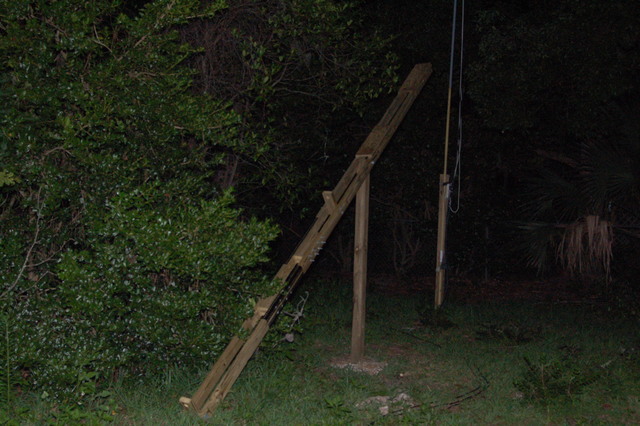
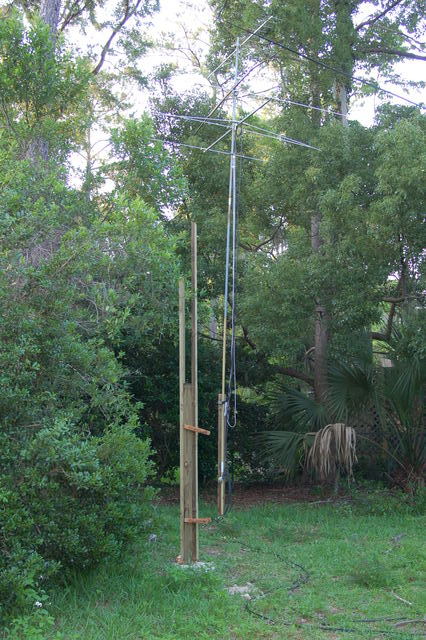
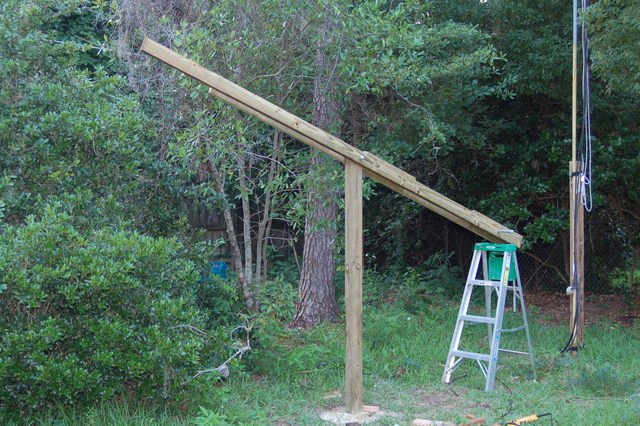
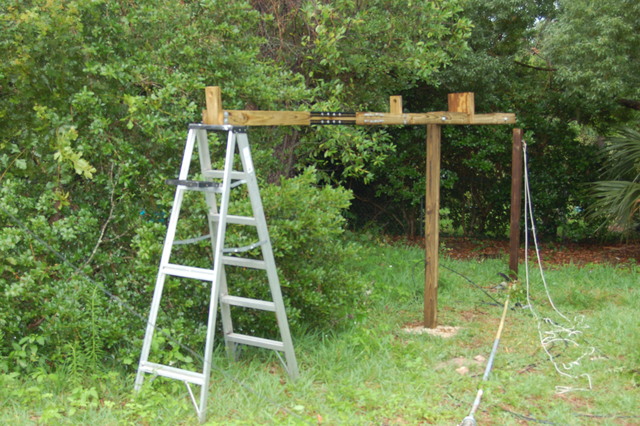
After due consideration,the Sawzall was once more brought into play,and the tiltover was rather drastically edited. The overall length was reduced to 16' long,and the splice joints were altered to be shorter and lighter weight. Up at the top and down below the splice,two bits of 2x4 jut out,bored 1-1/4" to hold the TV mast. The tiltover was now light enough hoist the thing up on my shoulder and get it out of the garage without too much difficulty. Even though I'd lost most of my daylight,I hauled it out and got it up on the post. The following morning I added a shelf about 4' up to support the rotator; until I've installed the rotator,the bottom of the mast will rest in a plastic pipe cap right on the shelf.
Construction,phase 4
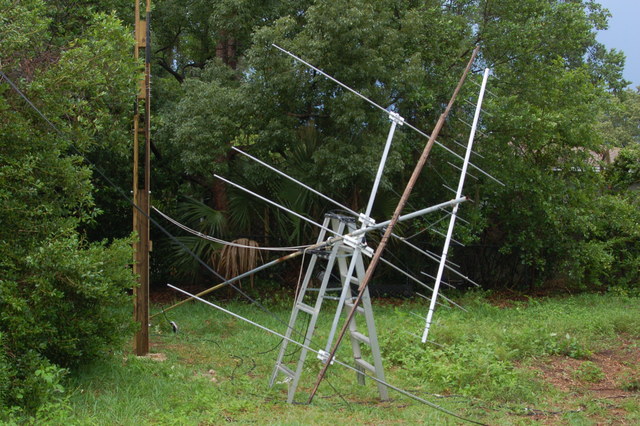
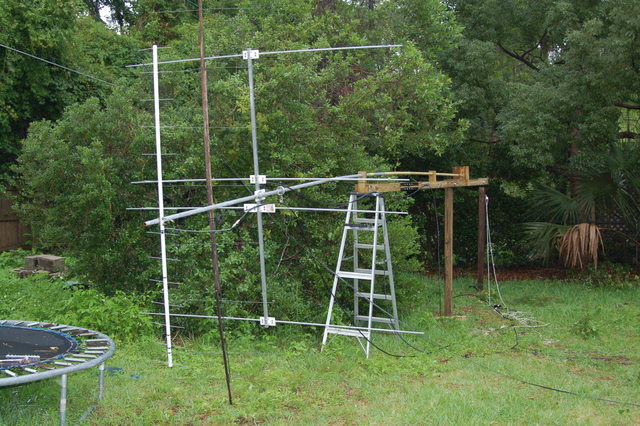

The day of the 2009 ARRL June VHF QSO Party,I'd planned on spending the morning taking down the antennas,building a new 2m Yagi (I did manage to get the elements cut to length, but that's all) and putting everything up on the tiltover. Alas,that was not to be,as family matters intervened to scrub that plan. I found myself dodging thunderstorms and rain to get the mast down,the antennas off,and everything reassembled on the tiltover. I did finally get it all done,and got it swung upright without strainging my shoulders and arms too badly.
Epilog

So the saga is now largely complete; only a small list of things remain to be done:
- Replace the 2m Yagi
- Weigh the whole shebang at the top of the mast to size the counterweight
- Add a counterweight to the bottom of the tilting structure (bucket of concrete or something similar, or maybe a water pipe jutting out onto which I can slide some weight plates when I want to lower/raise it)
- Figure out how to mount the AR-44 rotator
One final note that arises from a discussion of the ins and outs of the thing with KG5UC on IRC: the pressure treated lumber is HEAVY. It might be better to use kiln-dried 2x4s,treat the construct with Thomsons Water Seal and paint it with exterior primer and paint. The structure would likely be quite a bit lighter that way. I might just lop the top off of it and add on another few feet that way this summer.