|
Infrared Picture
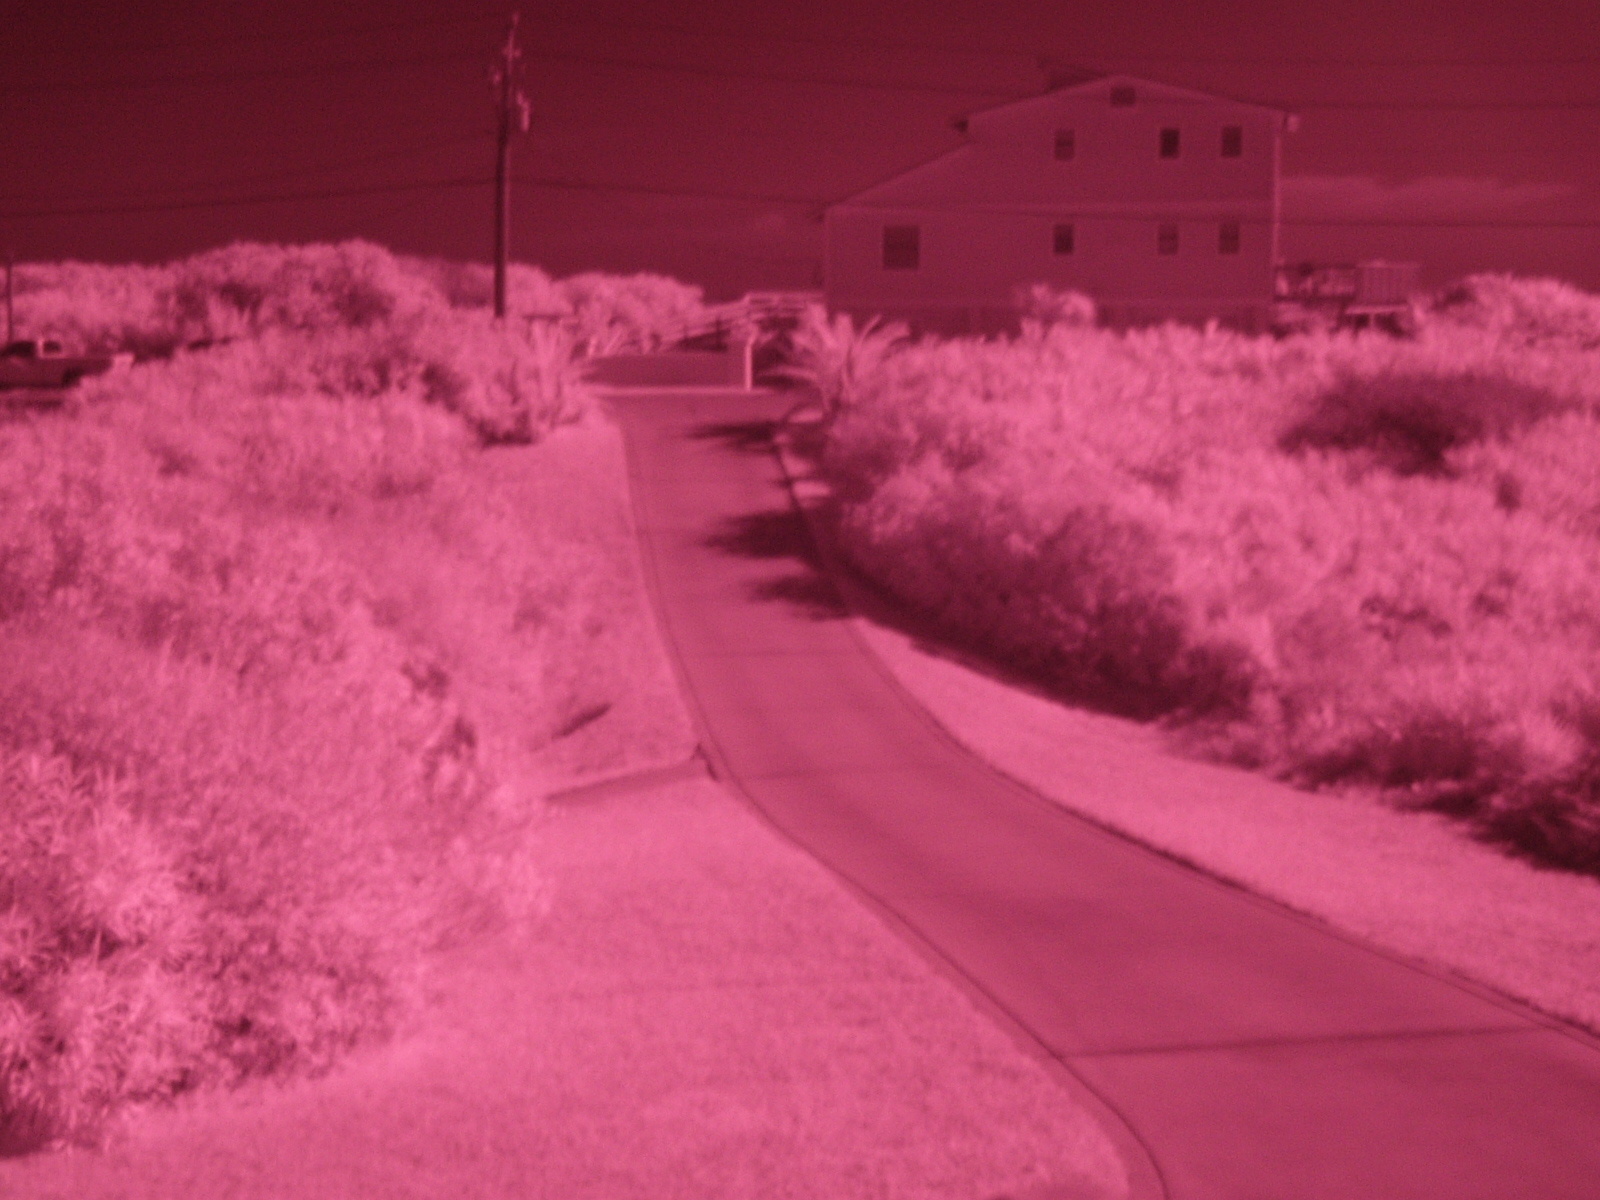
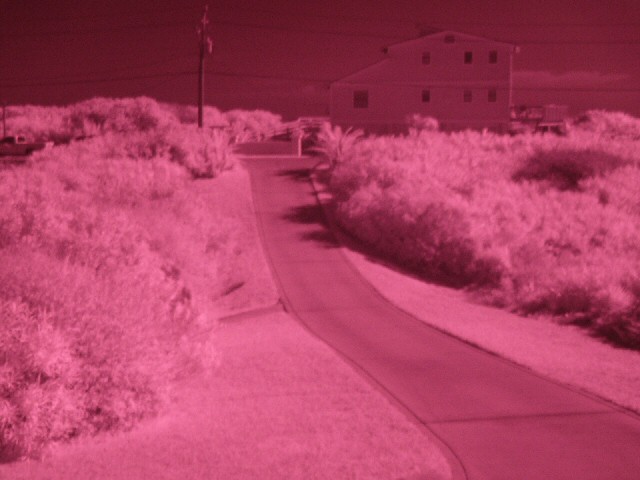
Test Although this isn't the best IR subject, it was just an experiment in IR photography for this camera. I'm sure I will get better scenic shots in the future -- these are just test shots of the view of the Atlantic Ocean off my porch (can't really see it since the sky and ocean are about the same color/tone). I will add additional IR pictures at the bottom of the page as I get around to taking them (which unfortunately will not be often). Equipment Used
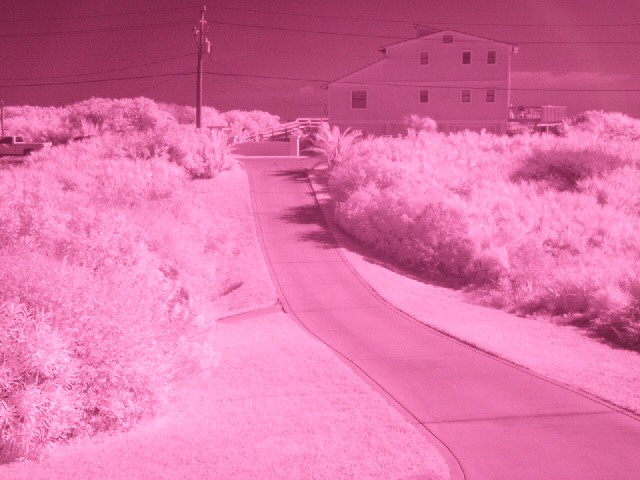
The picture immediately below (all four pictures are from the same original) was taken with following settings:
My reasons for choosing this mode and flash status is because the FZ1 is a camera with very few manual settings. This mode and flash status forces the camera to an aperture of 6.5 and an exposure time of 8 seconds. I was mainly going for the exposure time since the IR filter I used is pretty dark, and would've rather had the aperture at a lower number. Such are the limitations of an automatic camera. I focused the shot using the focus button prior to installing the UV and IR filters. The FZ1 does not always want to focus properly with the dark IR filter in place.
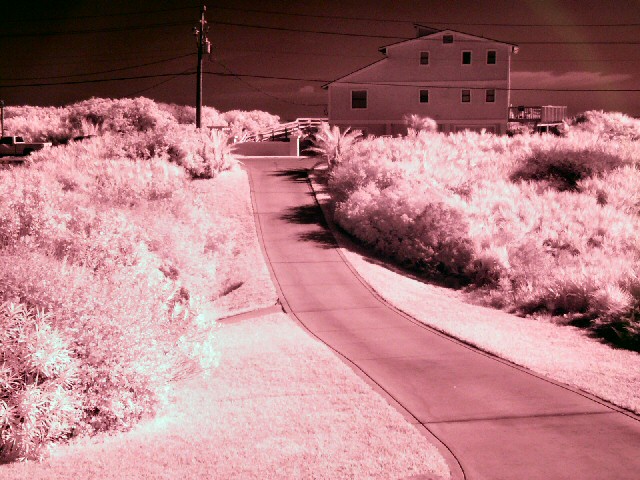
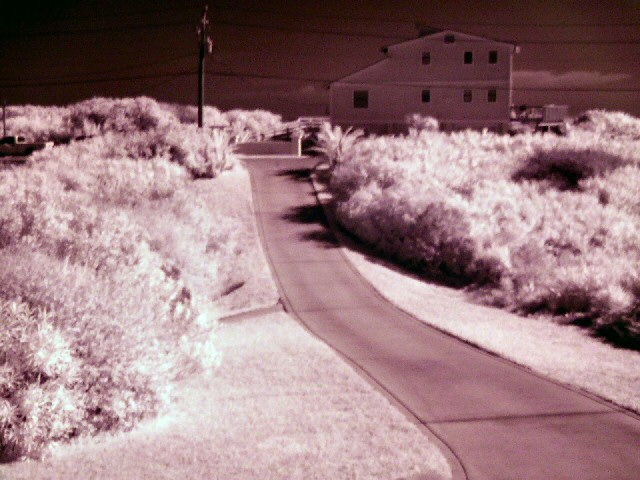
The picture immediately below (all four pictures are from the same original) was taken with following settings:
My reasons for choosing this mode are the same as above. However, this mode and flash status forces the camera to an aperture of 2.8 and an exposure time of 1 second. I was mainly going for the aperture of 2.8, but unfortunately that puts the exposure time at much less than the pictures above (and the grain shows it).
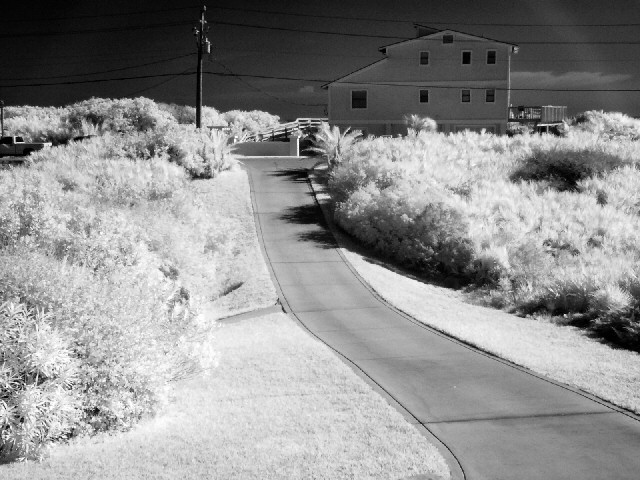
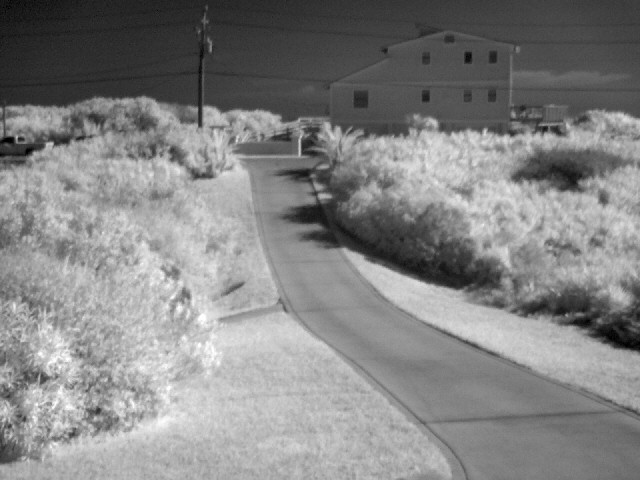
So, as you can see, it is very possible to take IR pictures with this camera, and they can turn out pretty good if you use Night Portrait mode. I cannot wait to try this on some better scenery! I have recently acquired a Hoya R72 IR filter that is a lot easier to frame the shot since it allows more light through, and it is a lot less clunky to use than the combination of the gel filter and a UV filter. Pictures taken with this new filter are here: Infrared Pictures Comments and feedback are welcomed and encouraged: Click Here to Email Me |
||||||||||||||||||||||||