The Making of Seamless Textures
by Nak Muay (Muaythaiboxer@aol.com)
1) All buttons used in this tutorial will be listed in quotes "Like this".
2) All menu items used in this tutorial will be listed as follows, If I wanted you to do a save, I would show it as follows, "File>Save".
3) You can download the full texture files used for this tutorial save file to desktop and unzip it): Textures (201 KB .jpg)
Example 1
Launch Adobe Photoshop.
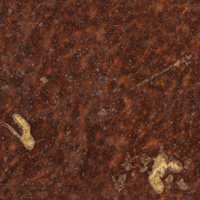
Open your texture file. In this case example1.jpg located in the tutorial's folder after you have unzipped the file.
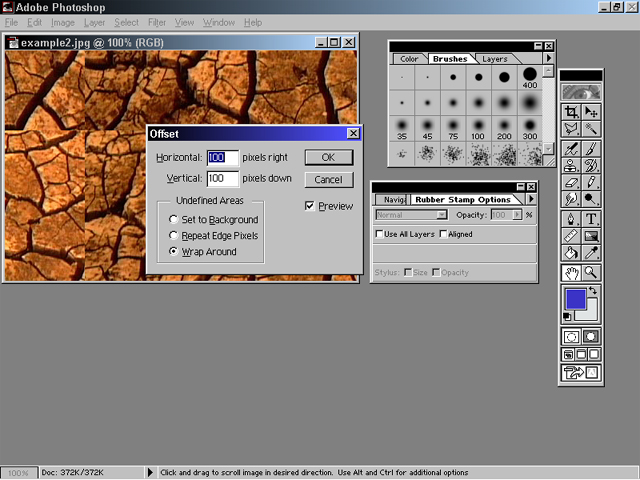
Click Filter>Other>Offset... Set the offset appropriately. In this case I set it to:

Don't forget to set the radio button to "Wrap Around". Click "OK" and take a look at the image Fortunately for us this image almost turned out perfectly seamless without any alteration. But it's not perfect as spotted below:
There are visible seams. You may be happy with this and decide not to continue on. But this is not always the case as you will see in the next example.
Select the clone tool and set the cloning area by ALT + Click somewhere on the texture, preferrably not where the visible line is. Start cloning across the line. Make it random. This will fix the problem. The finished seamless texture might look like this:
Example 2

Launch Adobe Photoshop.
Open your texture file. In this case example2.jpg located in the tutorial's folder after you have unzipped the file.
Click Filter>Other>Offset... Set the offset appropriately. In this case I set it to:
Now you can clearly see that there is a distinct line:

This is where the clone tool comes in. If you are not familiar
with the clone tool, it has this icon: ![]()
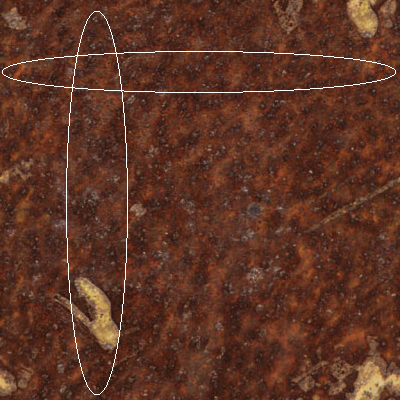
We want to get rid of those lines so that we cannot see where the texture starts or stops. Select the clone tool and set the cloning area by ALT + Click (refer to the picture below the area defined by the circle). Also set the properties of the clone tool to "Aligned" if it is not already (this is pictured below as well).

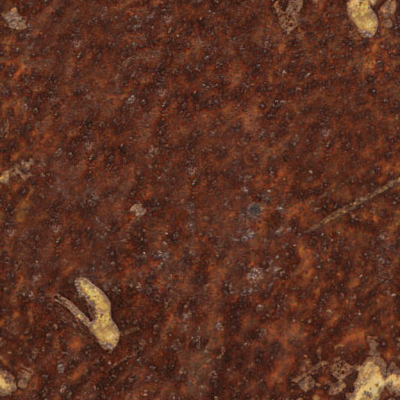
Start cloning along the line. Experiment with it until you get the desired look. This is what I got using that exact method as described in this tutorial:

Notes: Use the tiling option for your desktop to check for visible seams. Or map it onto a 2d plane or infinite plane to check for seams. If you see any, go back to photoshop and use a smaller brush to fix them. By using different sizes of brushes, this breaks up the cloning process and makes for a less detectable seam.